How To Clean A Washing Machine Naturally
To support the running costs of Moral Fibres, this post contains affiliate links. This means Moral Fibres may earn a small commission, at no extra cost to readers, on items purchased through these links.
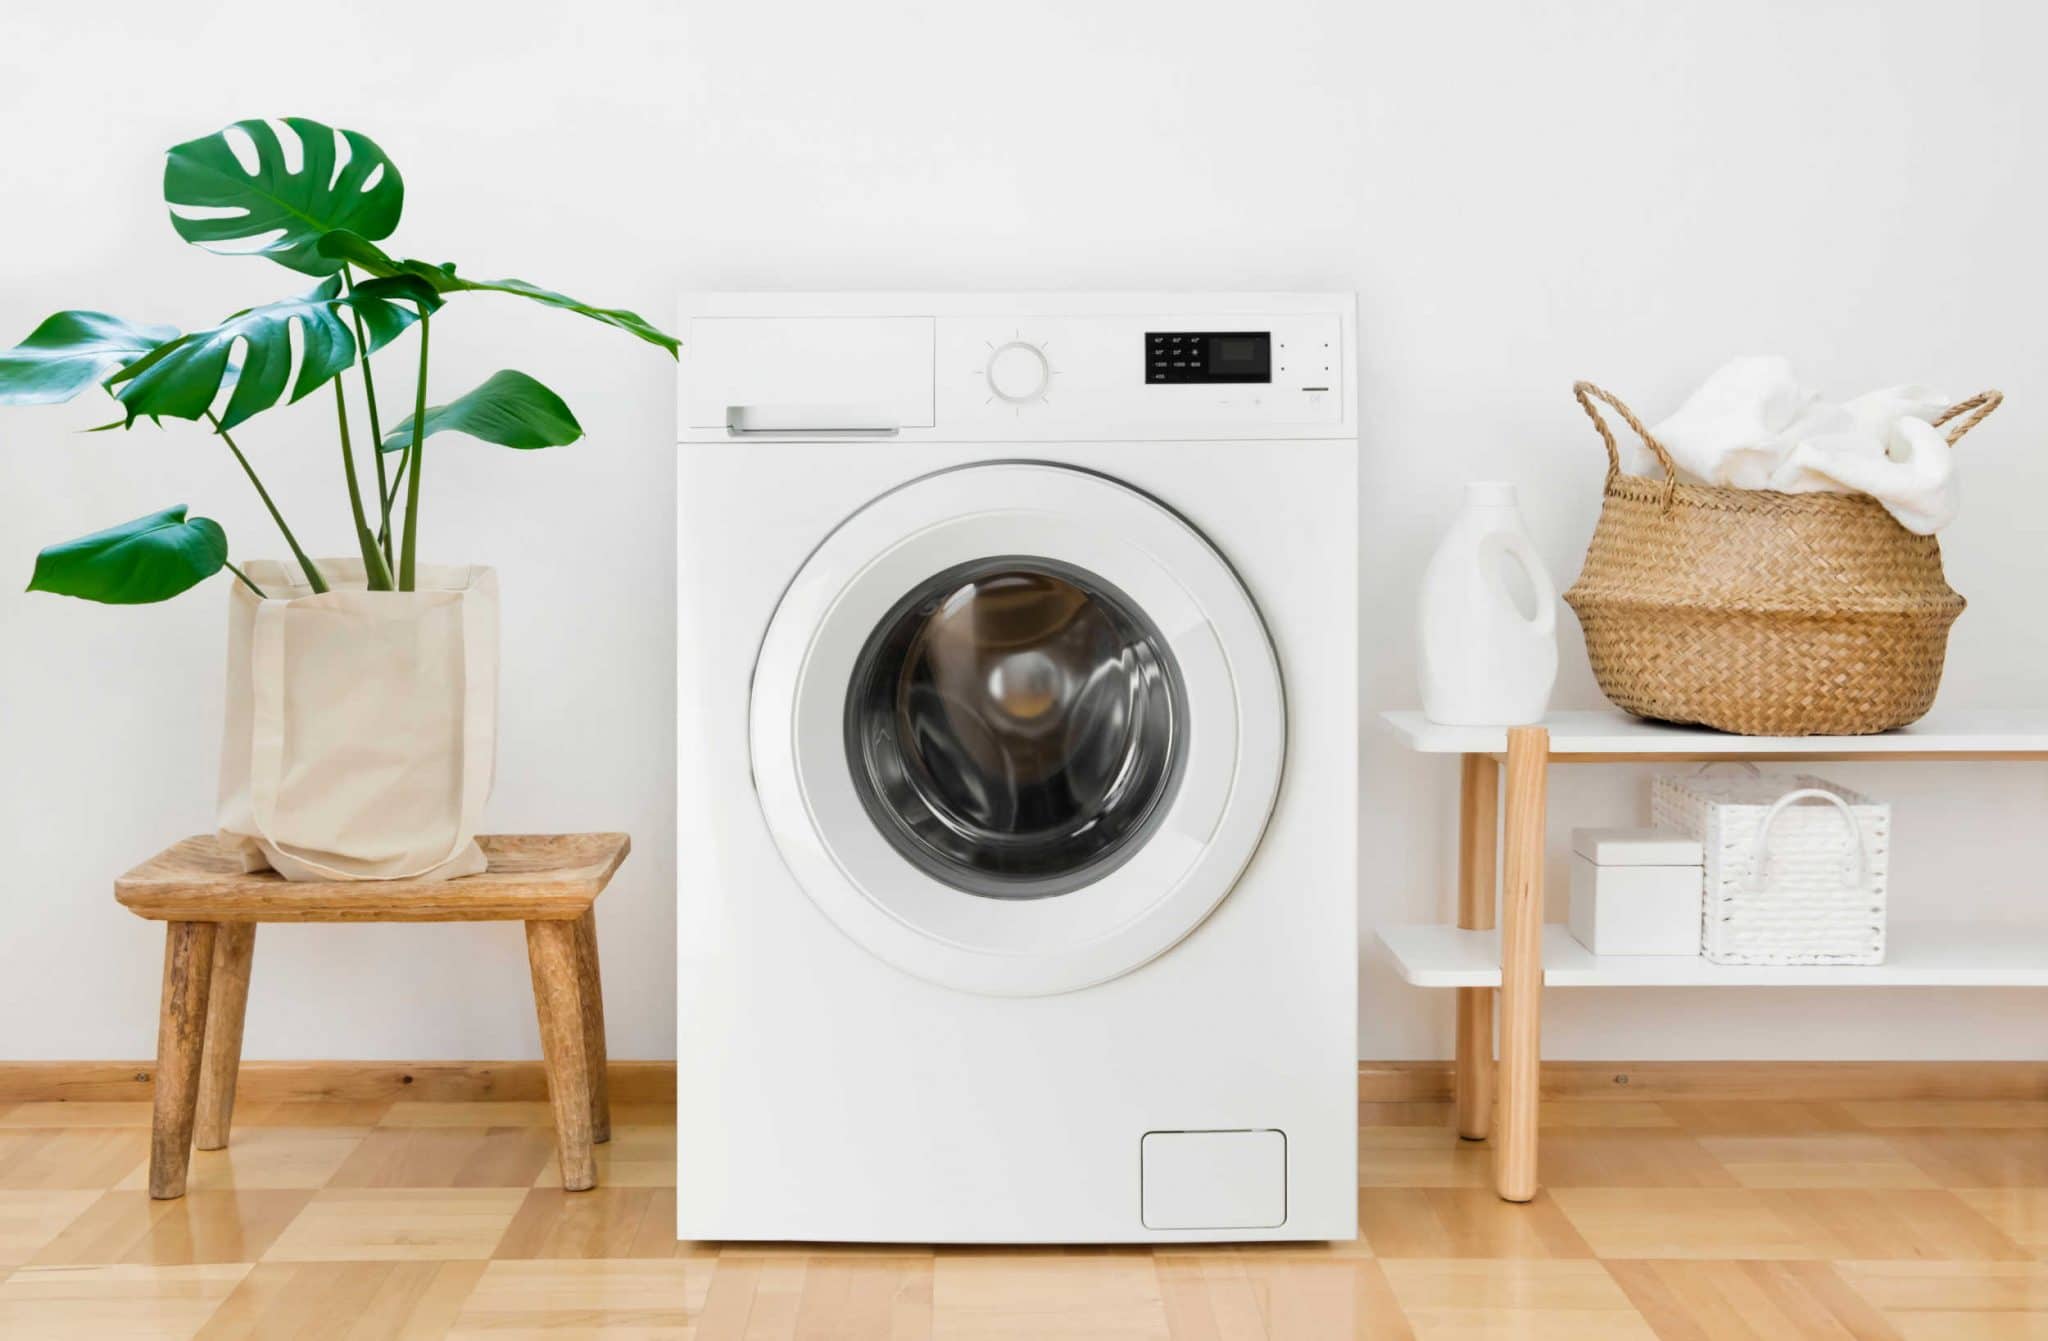
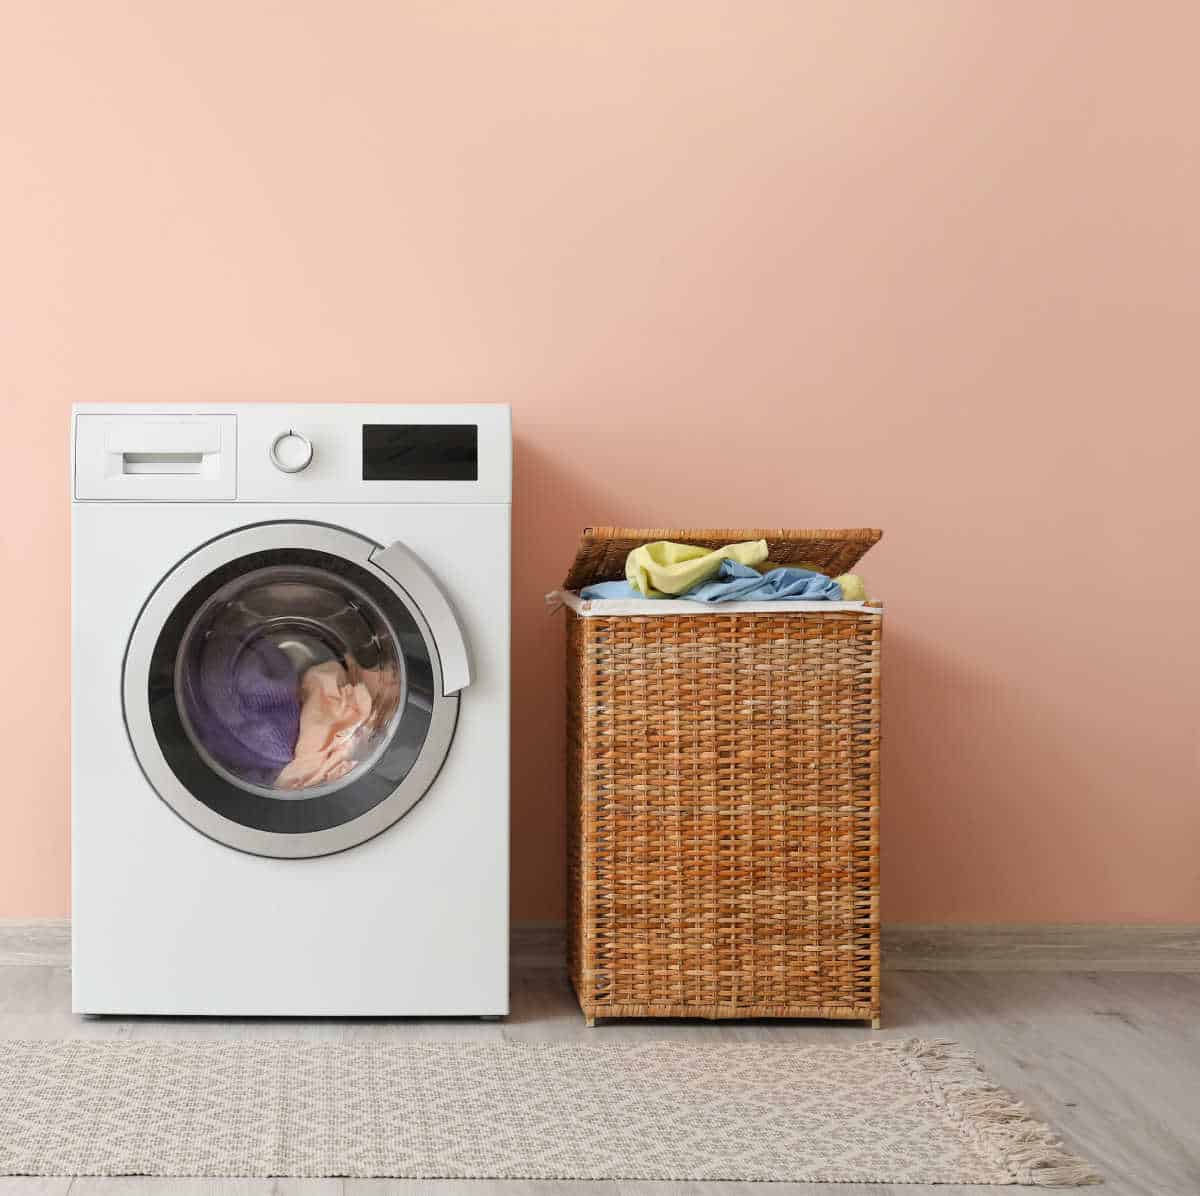
Got a smelly washing machine? Here is my tried and tested technique on how to clean a washing machine effectively and environmentally friendly, using vinegar and soda crystals. These will not only banish bad smells but reduce limescale and mould too.
I have written so much about laundry in the 11 years I’ve been writing here at Moral Fibres. From how often you should wash your clothes, to how to wash striped clothes, and how to wash wool, to my natural stain removal tips, and more. So much more, that I bet you are thinking, how much more is there to know about laundry? Reader, hold my cup of tea, there is so MUCH MORE to know about laundry.
Like, for example, did you know that cleaning your washing machine is a key semi-regular household chore we should all be doing?
Firstly, I know that’s hard news to hear. As a family of four, I find that laundry is one of those never-ending tasks. You wash the clothes, you dry the clothes, and then you have to iron, and fold, and put the clothes away. And repeat into infinity. And then on top of that, we’re then expected to clean the very machine that cleans our clothes too? It’s enough to make you weep.
Why Do We Need To Clean The Washing Machine?
The thing is, it’s good practice to regularly give your machine a good old-fashioned deep clean.
This is because cleaning your washing machine helps to prolong its life. And prolonging the life of a hulking great piece of machinery saves carbon as you’ll have to replace it less frequently.
And not only that. Cleaning your washing machine makes it run more efficiently. This means you lower the likelihood of having to re-wash clothes because they haven’t come out particularly clean. This will save you carbon and water, as well as save you money on your energy bills and laundry detergent costs.
If the thought of helping the environment doesn’t make you want to bust out the marigolds, then would talk of mould build up in your washing machine, that distributes mould over the very clothes you want to clean encourage you? Yup, thought it might. Sorry. I think this is an example of what they call tough love!
How To Clean A Washing Machine

The good news is that it’s not tricky to clean a washing machine. You mainly need to tackle the detergent drawer, the drum, the seals, and the filter.
To help you out, I’ve set out my top tips, techniques, and natural cleaning products you need to clean your washing machine below, and how often it’s best to clean each area. If you’ve never cleaned it before, it might initially take you an hour. But once you’re in a regular routine, it can take as little as 15 minutes of your time:
- Tackle The Detergent Drawer
- How To Clean The Filter
- How To Clean The Drum of Your Washing Machine With Vinegar & Soda Crystals
- Don’t Forget The Seals
- Finally, Clean The Body
1. Tackle The Detergent Drawer
For somewhere that you put laundry detergent, the detergent drawer is always one of the most disgusting parts of any washing machine. Especially if you use laundry liquid and/or conventional fabric conditioner. It can be mould-central. However, it doesn’t have to be that way. Here’s how.
- First off, remove your drawer from your washing machine. You may have to consult your washing machine’s instruction manual on how to do this if you haven’t done this before. If you’ve lost the manual, I always find eSpares user manual section invaluable for this.
- Next, fill a sink with hot soapy water and give the drawer a good wash. An old toothbrush is great at getting into the nooks and crannies of the drawer. Once you’ve got all the gunk off, rinse it off, and give it a dry.
- Before you pop the clean, dry drawer back in, if the drawer was mouldy when you pulled it out, then it’s best to give the cavity a good wipe down to help remove any mould in there. To do this, I spray a cloth with a vinegar cleaning spray and wipe as much as I can possibly reach.
Aim to do this every three months, or more frequently if you use laundry liquid and/or conventional fabric conditioner.
Wendy’s Top Tips
I prefer using laundry powder, because it leaves less gunk in your washing machine, meaning there’s less chance for mould to grow.
When it comes to fabric conditioner, I’ve got a whole lot more to say. If you want the shortened version, conventional fabric conditioner is the worst product you could ever possibly buy. The actual worst. Just stop buying it, it’s a total con.
The long version of this is first, it’s terrible for your clothes. Fabric conditioner essentially applies a thin, waxy coating to your laundry, which has to be water-resistant in order to survive the washing process.
This waterproof coating makes your clothes feel softer but lessens their ability to properly absorb water and laundry detergent. This means your clothes won’t respond as well to washing and will be more likely to lock in bad odours.
Secondly, many brands of fabric conditioner are petroleum-based and full of animal fat (and therefore not vegetarian or vegan friendly). As they are fat-based, they can clog up your washing machine (especially if it’s a front-loading one) and your pipework. It happened to my parents, I know the upheaval this caused.
Fabric conditioner can also encourage the growth of mould in your machine. Due to its fat content, when fabric conditioner is exposed to air and moisture, it becomes a breeding ground for bacteria and mould.
And because of the design of most machines, it means that the water-resistant softener is never quite washed out properly, leaving a residue that only encourages the growth of bacteria and black mould throughout your whole washing machine, contaminating your laundry. Disgusting. I know.
The solution? Make your own fabric conditioner using white vinegar. It softens your clothes without residue, won’t block your machine or pipes, and won’t contribute to the growth of mould. Millilitre per millilitre, it’s also a whole lot cheaper too, and more environmentally friendly.
2. How To Clean The Filter

Cleaning the filter of your washing machine is the part of the cleaning process that I hate the most. However, it’s a pretty important part, as the filter catches hair, lint, and any objects that got left in pockets before they went in the wash. As a result, bacteria can grow here, causing bad smells.
For Newer Washing Machines
- First, locate your filter. Your washing machine filter is normally accessed via a flap on the front of your washing machine – near the very bottom.
- Next, open up the door.
- If your machine is a newer model then you’ll likely see a little hose with a cap on it. Pop a towel down, put down a bowl, and remove the cap from the hose. Pro tip – place the cap somewhere sensible where you will find it again afterwards. Voice of experience here!
- Once you’ve removed the cap, drain as much water out of your machine as possible. You may have to empty your bowl several times during the drainage process, so unfortunately this isn’t a job you can walk away from.
- Once drained, keep the towel down because even though you think you’ve drained your washing machine of every single last drop of water, I promise that your washing machine will be tenacious and there will be more!
- Next, unscrew the cap of the filter, prepare for a small gush of water, and remove the filter. Remove any lint, hair, or objects from your filter.
For Older Washing Machines
If your washing machine is older and doesn’t have a hose, then you will need ALL the towels. Put these on the floor and be prepared for a large gush of water. The only consolidation is that once you are done cleaning your washing machine, you can wash your towels, and they’ll be cleaner than ever before!
Again, remove any lint, hair or objects from your filter.
For All Machines
- Next, pop the filter into the kitchen sink and give it a good clean in warm soapy water. Again, your toothbrush will come in really handy for this job.
- Before popping the filter back in, I like to give the filter cavity a good clean. I spray some of my vinegar cleaning solution onto the toothbrush and give the cavity a good scrub.
- Once done, make sure you screw the filter back on tight. Then make sure you replace the cap of your hose, if you have one.
Top tip: try to get into the practice of cleaning your filter every 8 weeks or so.
3. How To Clean The Drum of Your Washing Machine With Vinegar & Soda Crystals

There are lots of places in your washing machine’s drum for dirt, bacteria, and mould to harbour. Thankfully, it’s a really easy job to clean, without any effort.
With Soda Crystals
To clean mould, bacteria, grease, and soap scum, from the drum, simply pour 500g of soda crystals into the drum of your washing machine and run a hot wash (at least 60°C). The soda crystals help dissolve any lingering soap scum that can harbour dirt, bacteria, mould, and bad smells.
If you have never cleaned your machine before, and especially if you have been an avid user of laundry liquid and/or conventional fabric conditioner, you may have to repeat this step.
With Vinegar
To help beat limescale, once every 8 weeks or so, pour around 500 ml of vinegar (here’s where to buy white vinegar in bulk) into the drum of your machine and run it on a hot wash (again, at least 60°C).
I have a system where every four weeks I do a hot wash with soda crystals, and then four weeks later I run a hot wash with vinegar, and so on.
Don’t Take Shortcuts
It’s really tempting to kill two birds with one stone and do a wash with soda crystals AND vinegar combined. Don’t do that! Vinegar is an acid, and soda crystals are a base. They’ll react and cancel each other out, producing weak salty water. And weak salty water never cleaned a washing machine particularly well!
Wendy’s Top Tip
Washing your clothes at low temperatures is great for the environment. However, it’s not always great for your washing machine, as colder temperatures don’t always remove grease, mould, and bacteria effectively. I, therefore, wash my towels once a week at 60°C, to help keep my machine in tip-top condition.
4. Don’t Forget The Seals
If you have a smelly washing machine, then the chances are it’s coming from the seal of your washing machine. You see, the seal of your washing machine can harbour some nasty smells, as well as lint, bacteria, dirt, and pocket detritus.
The good news is that this is also an easy clean.
Simply wet a cloth with vinegar, and wipe around the seal, making sure you work your way all around the fold. The vinegar will kill any mould on the seal. This method has the added benefit that it won’t harm your clothes if any residue has been left, as bleach would do.
To help prevent nasty smells in the future, leave your washing machine door ajar after every use to allow air to circulate.
5. Finally, Clean The Body
Lastly, you may need to give the body of your washing machine a good wipe-down. If you use laundry liquid or fabric conditioner, it can spill and run down the machine. If your washing machine is next to your dishwasher, it might get food splatters. Muddy sports clothes or kid clothes can leave marks as you put these in the machine. There are loads of reasons why the body can get dirty – I don’t judge!
Whatever the cause of the dirty, it’s incredibly easy to clean the outside of your machine. Using a vinegar-based spray, or an all-purpose natural cleaning spray and a damp cloth, simply wipe the body down. If dirt has gathered in any crevices, use your old pal, the toothbrush, to give these areas a gentle scrub.
And voila, job done! You can now bask in the glow of lovely clean clothes that will now come out of your machine, and the fact that you’re helping the environment too!
PS: if you’re in a cleaning frame of mind, then here’s how to clean a dishwasher too.
Found this post useful? Please consider buying me a virtual coffee to help support the site’s running costs.


